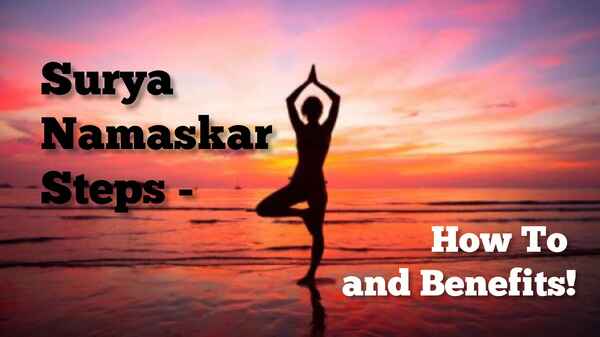
Surya namaskar yoga is also called the sun salutation sequence. Contrary to the common perception that Surya Namaskar is for weight loss, it is meant for overall physical and mental well-being. The steps of Surya Namaskar consist of several types of postures or asanas that free your mind from all kinds of pain and tension. It is also an opportunity to thank Surya or the Sun God for his contribution to life on Earth. It has a total of 12 yoga poses that can improve your flexibility, both in body and mind.
So without further adieu, let’s get started!
Also, Read 10 Breathing Exercises For a Healthy Body & Stress-Free Mind
Step 1: Pranamasana- Prayer Pose
Start by standing tall on the front of the mat, making sure your feet are together and your shoulders are relaxed. Take a moment to connect with your breath. Bring your palms together in front of your chest in a prayer position with your fingers pointing up. Take a few deep breaths here and allow yourself to find a sense of calm and grounding.
Step 2: Hastauttanasana- Raised arms pose
Please take a deep breath and raise both arms up and back, keeping them straight. As you grow your arms, gently arch your back and tilt your gaze upward, focusing your attention on your hands. Ensure your biceps are close to your ears and keep your abs slightly engaged.
Step 3: Hasta Padasana- Hand-to-Foot Pose
As you exhale, bend forward from your hips, keeping your spine long. Keep your back straight as you bring your hands down to the mat, next to your feet. You can place your palms flat on the mat if your flexibility allows. However, if you cannot comfortably reach the mat, you can bend your knees slightly or place your hands on your shins or thighs.
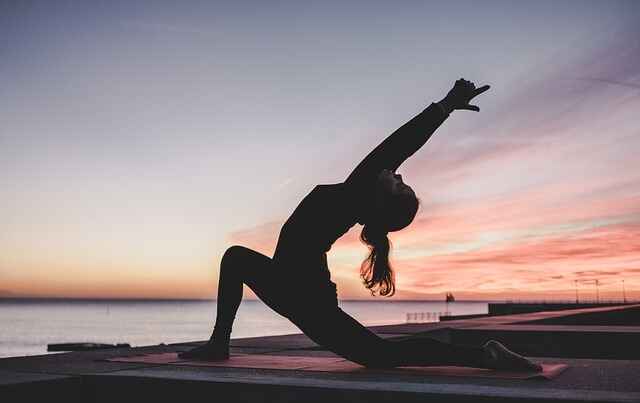
Step 4: Ashwa Sanchalanasana – Equestrian Pose
Inhale and step back with your right leg and extend it behind you. Lower your right knee to the mat, keeping your toes under you. At the same time, make sure your left knee is positioned directly over your left ankle. Look straight ahead and lift your chest, finding a gentle stretch in the front of your right hip.
Step 5: Dandasana – Pole Pose
As you exhale, step your left leg back and align it with your right leg. Your body should form a straight line from head to toe. Engage your core muscles and pull your tailbone down slightly. Engage your leg muscles and press your palms firmly into the mat, spread your fingers wide.
Step 6: Ashtanga Namaskara -Eight Pose
Lower your knees, chest, and chin to the mat, keeping your hips slightly raised. Elbows should be pulled close to the body. This pose is also known as the Eight Points Touching the Earth Salutation.
Step 7: Bhujangasana – Cobra Pose
Move forward and spread your toes. Inhale, lift your chest off the mat, and straighten your arms. Keep your elbows slightly bent and your shoulders away from your ears. Look forward or slightly up and allow your spine to arch slightly.
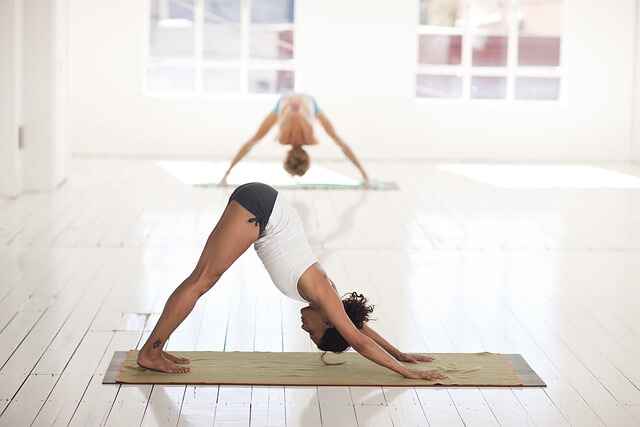
Step 8: Adho Mukha Svanasana – Downward Facing Dog Pose
As you exhale, lift your hips up and back, creating an inverted “V” shape with your body. Straighten your legs as comfortably as possible while keeping your heels on the ground. Press your palms firmly into the mat and spread your fingers wide. Relax your head and neck and let them hang freely. Engage your core muscles and breathe deeply, find length in your spine.
Step 9: Ashwa Sanchalanasana- Equestrian Pose
Take a deep breath and step your right foot forward between your hands, straightening your right knee over your right ankle. Your left knee stays on the mat with your toes tucked under it. Lift your gaze and chest and feel the stretch in the front of your left hip.
Step 10: Hasta Padasana- Hand-to-Foot Pose
As you exhale, step your left foot forward to meet your right foot at the front of the mat. When folding forward, keep your spine long and engage your abs. Let your hands reach the mat next to your feet or rest them on your shins or thighs. If necessary, bend your knees slightly to adjust your flexibility.
Step 11: Hastauttanasana- Raised arms pose
Take a deep breath as you stand up, spread your arms out to the sides, and then up above your head. Gently arch your back, lengthen your spine, and look up towards your hands. Keep your biceps close to your ears and keep your abs slightly engaged.
Step 12: Pranamasana- Prayer Pose
As you exhale, bring your palms together in front of your chest and return to the prayer position. Take a moment to feel the effects of the exercise, and observe all the sensations in your body and the state of your mind. Stay connected to your breath and express gratitude for the energy and warmth of the sun.
Benefits of Sun Salutation:
- Full body workout: Surya Namaskar engages multiple muscle groups and promotes overall strength, flexibility, and balance. It provides a full-body workout, targeting the arms, shoulders, chest, back, abs, glutes, and legs.
- Improved Cardiovascular Health: The fluid nature of Surya Namaskar increases the heart rate and improves blood circulation and cardiovascular endurance. Regular exercise can help keep your heart healthy and reduce your risk of heart disease.
- Mental clarity and stress relief: Surya Namaskar combines movement with breath to create a moving meditation. It calms the mind, reduces anxiety and stress, and promotes mental clarity and focus. It can be a great way to start the day with a clear and positive mind.
- Increased flexibility and joint mobility: The dynamic movements of Surya Namaskar gently stretch and strengthen muscles, ligaments, and tendons, increasing flexibility and improving joint mobility. It helps relieve stiffness and promotes better posture.
- Energy and Vitality: Surya Namaskar is believed to awaken the solar plexus, which is associated with vitality and energy. Regular exercise can increase energy levels, improve overall stamina and create a sense of vitality and liveliness.
Start slowly and gradually increase the number of rounds as you feel more comfortable. Enjoy your workout and reap the many benefits it has to offer!
Also, Read 10 Science-Proven Health Benefits of Yoga!